Arcade Madness

Thom's
Arcade Madness
Click a thumbnail picture for the full-size image!
I decided to use NorthCoast Custom Arcade's "Ultimate
Arcade II" plans for my cabinet. I also went with their "Classic
Controller Kit" for the Control Panel. I had started to design my
own Control Panel, but my head was getting a little numb from all the decisions
- I can always replace this Control Panel after I've played some games and know
exactly what I want.
I used a ⅝" particle board that Menards
stocks here locally (the brand name is "Dakota Panel" or something like
that...). It's not as dense or as smooth as MDF, but it seems to be better than the
average particle board. It cuts and routes very nicely, with no chipping. I believe that the price was around $15.00 per sheet
- I needed three sheets for this project.
No one around here stocks ⅝" MDF (not even by
special-order).
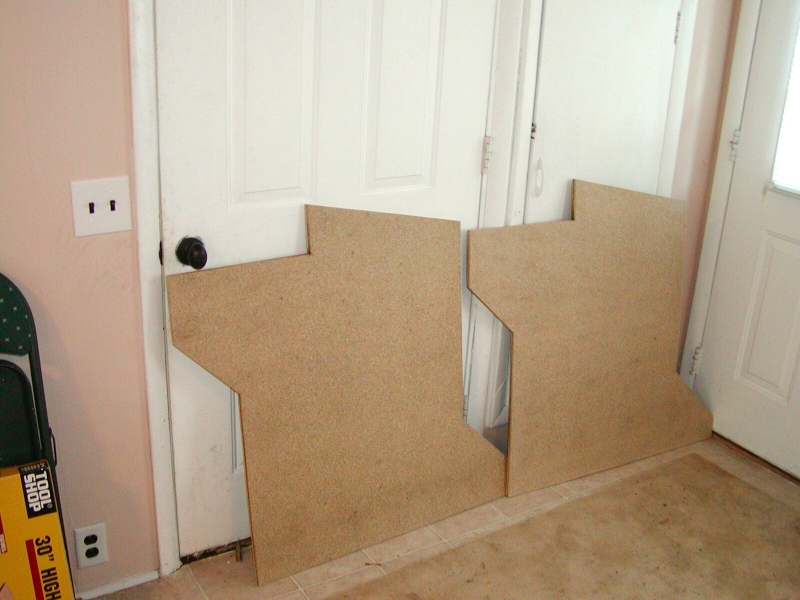
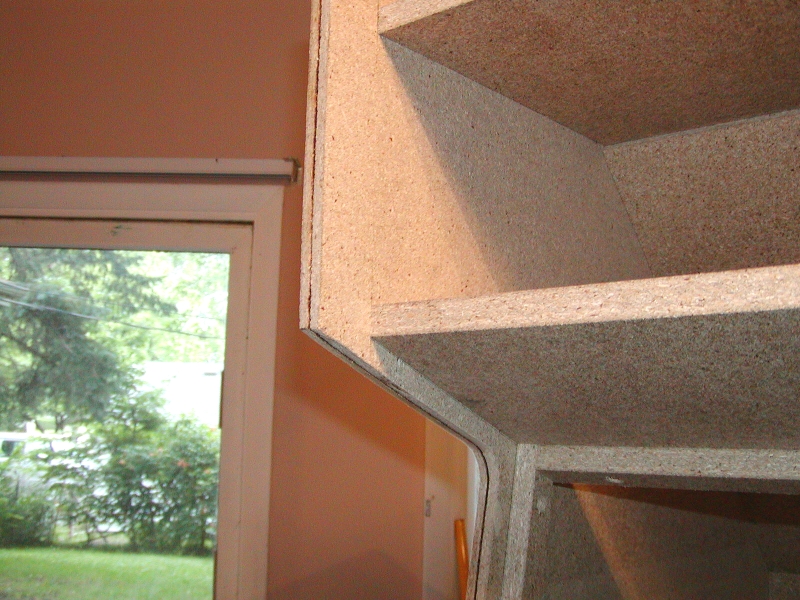
Getting started - the two bottom-side panels.
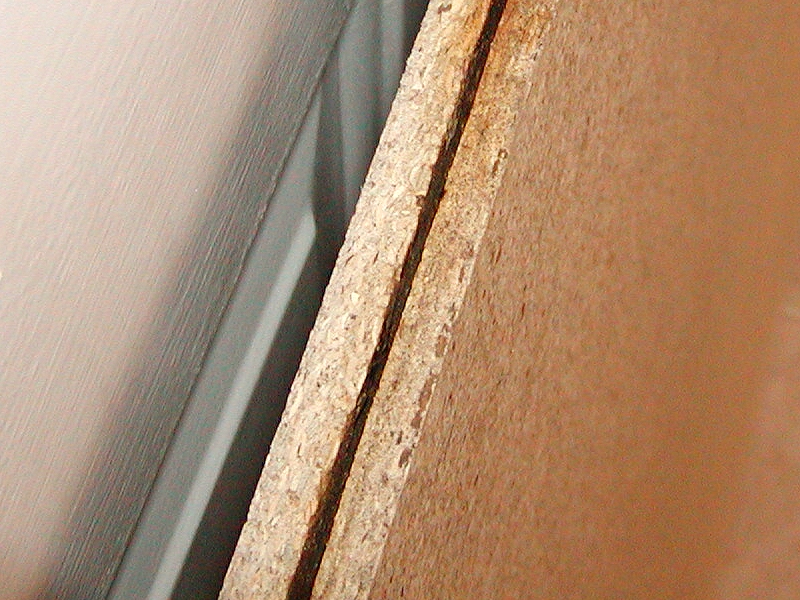
Close-up of the groove for the T-molding.
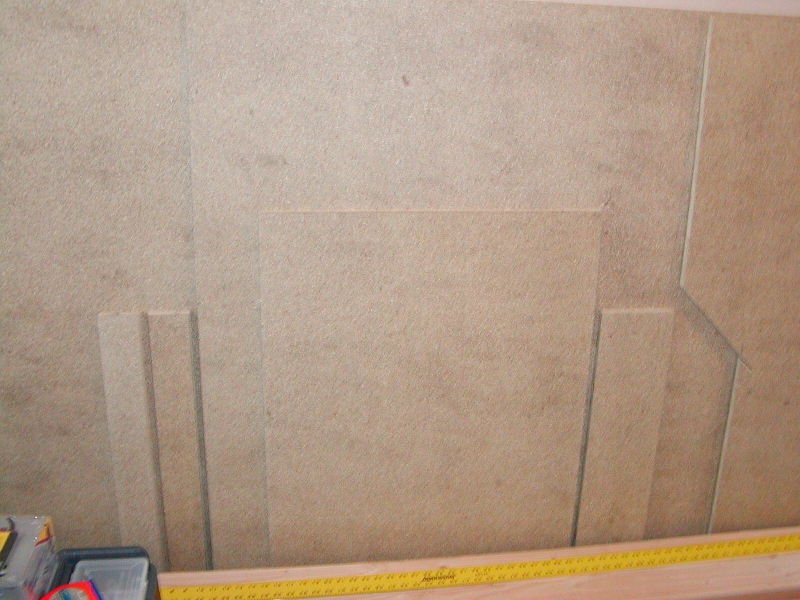
A few of the pieces for the bottom part of the cabinet.
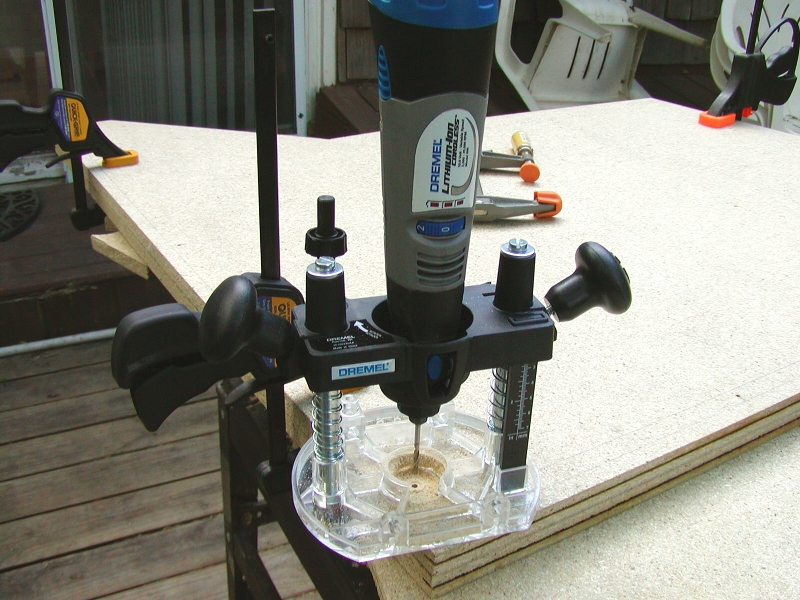
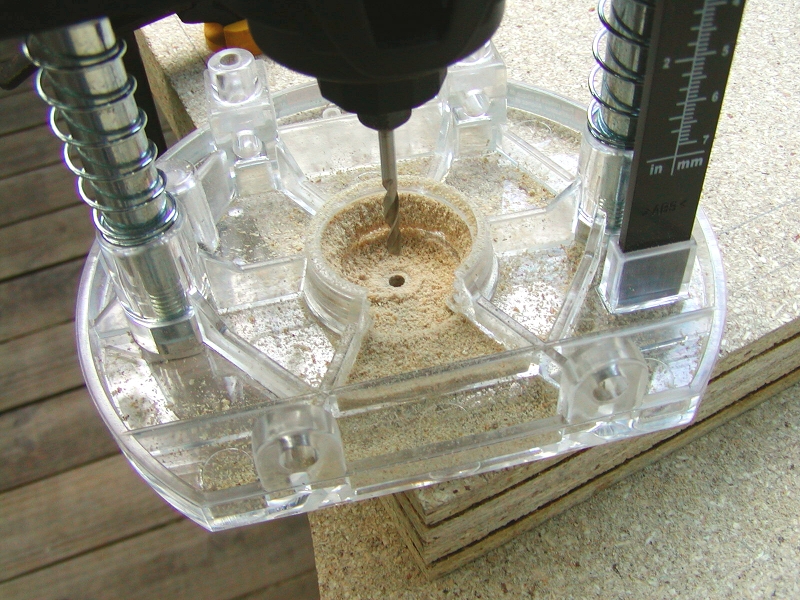
Dremel with a plunge router base works great to drill ⅛"
pilot holes (I drilled both pieces at once, to avoid having to measure
twice...).
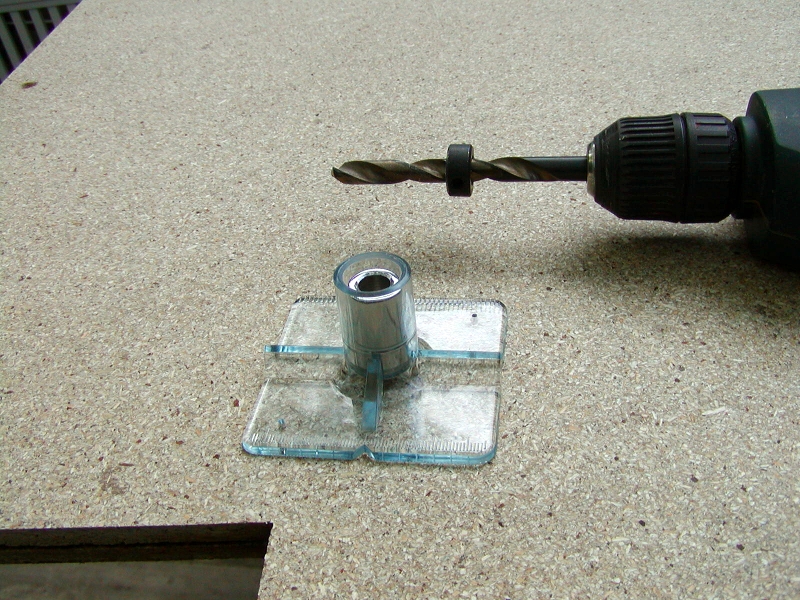
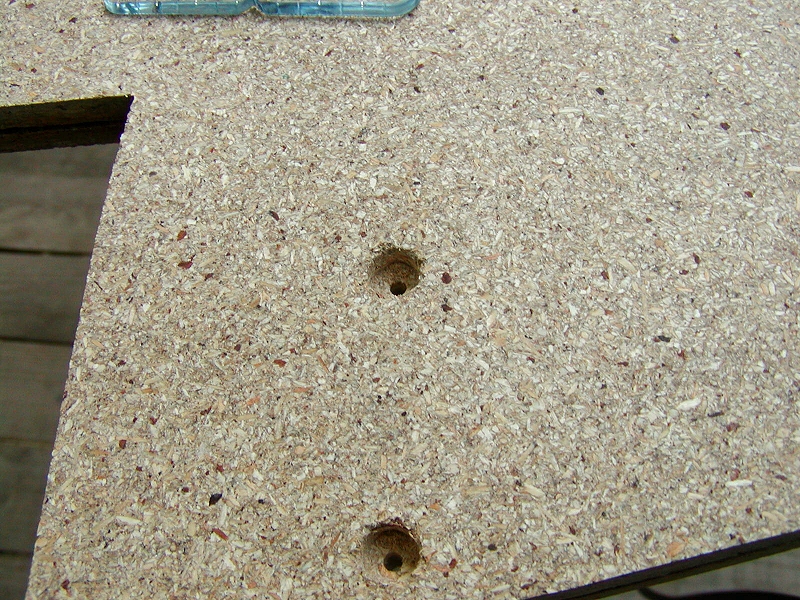
Countersinking the screw holes.
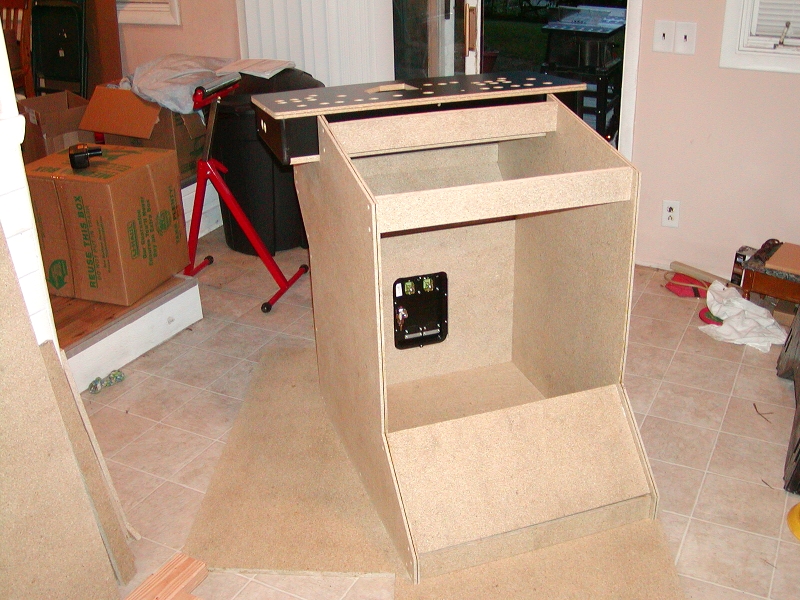
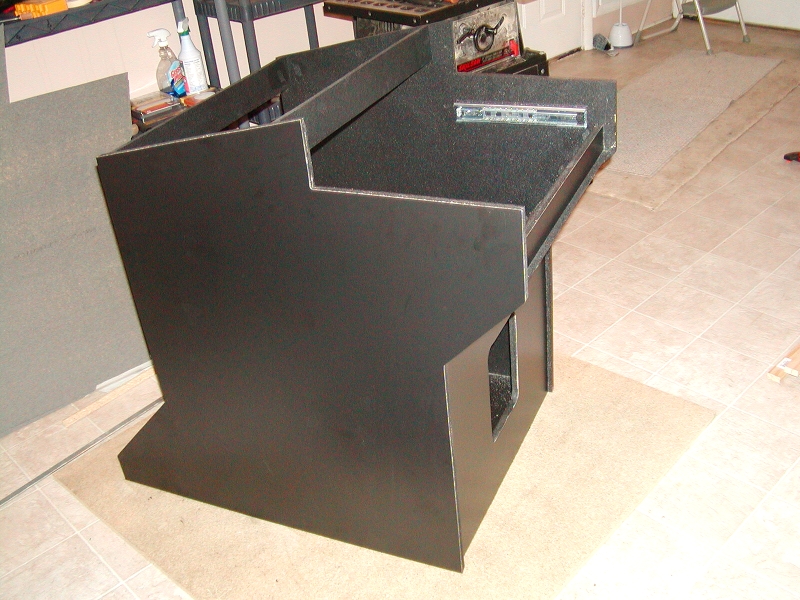
Base - assembled for a test fit. The coin door is
non-functioning
coin door from Suzo-Happ. I may add a functioning one at a later date.
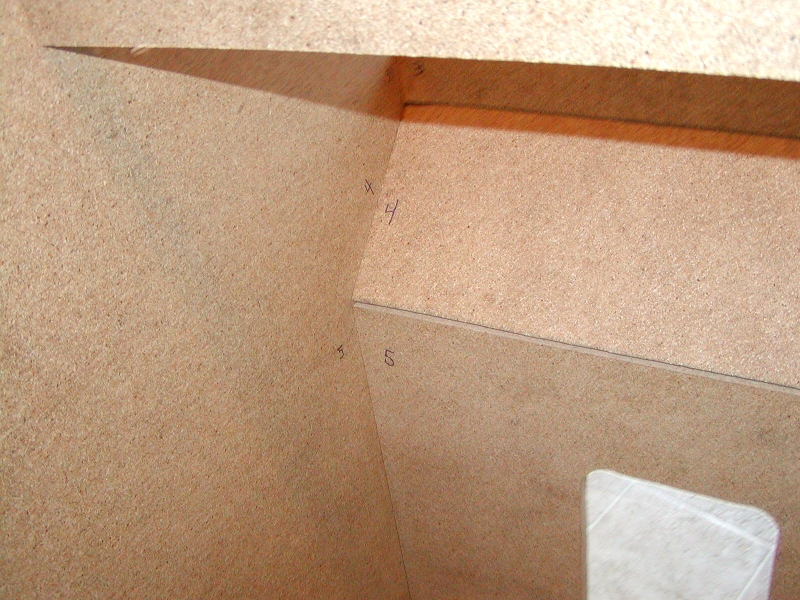
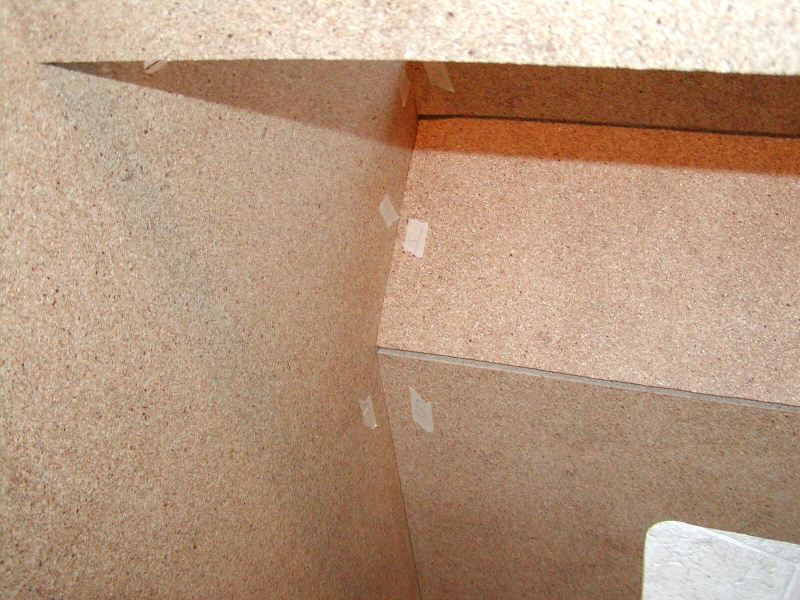
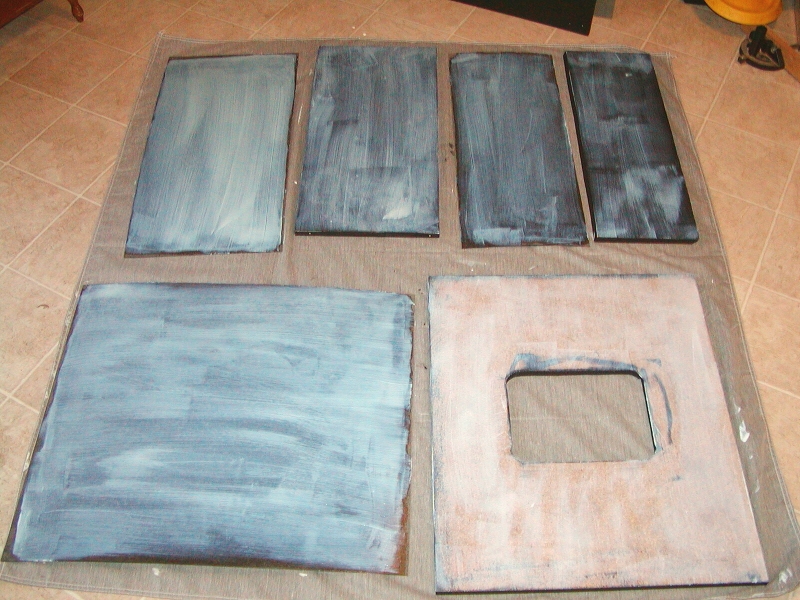
Parts numbered so they'll go back together the same way, then taped over for
painting.
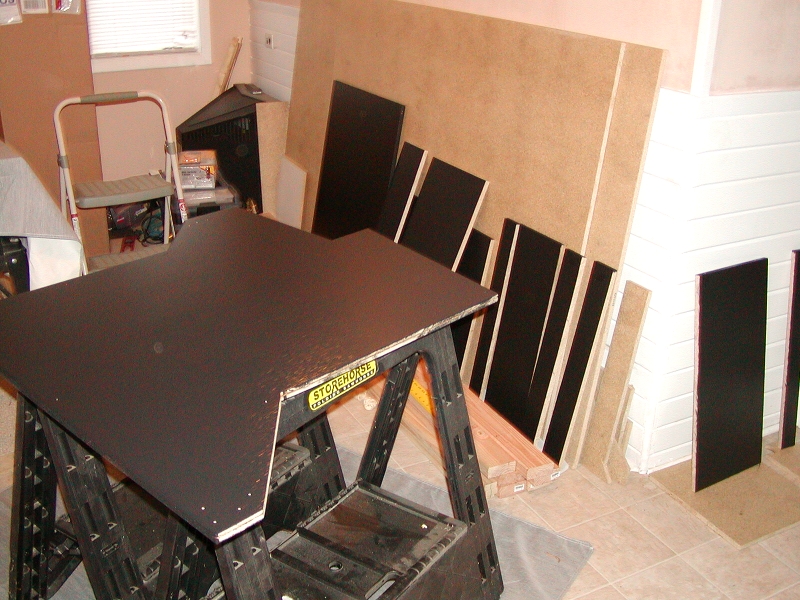
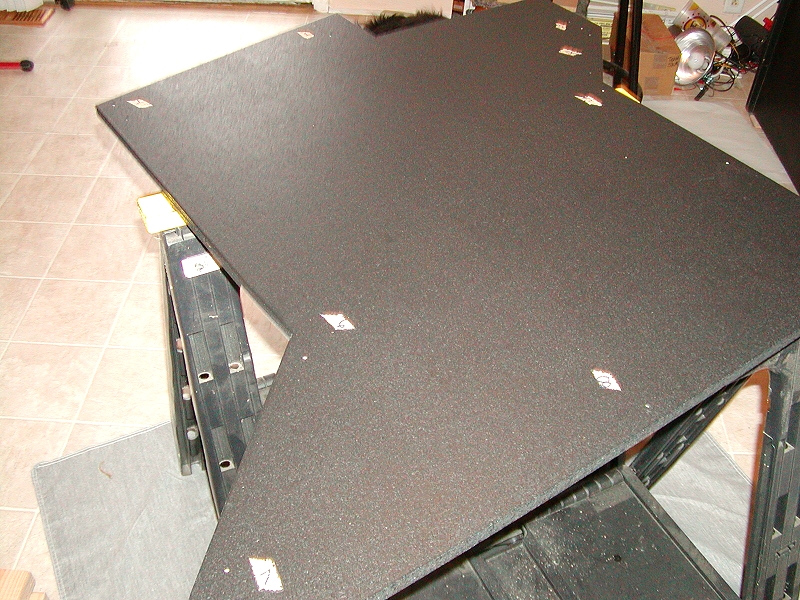
Base pieces painted black. Right image shows numbered locations once the masking
tape was removed.

Benny's totally bored with the project so far...
I chose a Formica-brand black laminante (#909-58, from their "Matte Collection").
I special-ordered it through Lowes. It
was a good deal - a very nice laminante for $55.00 a sheet (plus I had a 10% off
coupon). Everywhere else wanted $80.00 - $100.00+ per sheet for the same laminante.
I purchased three sheets.
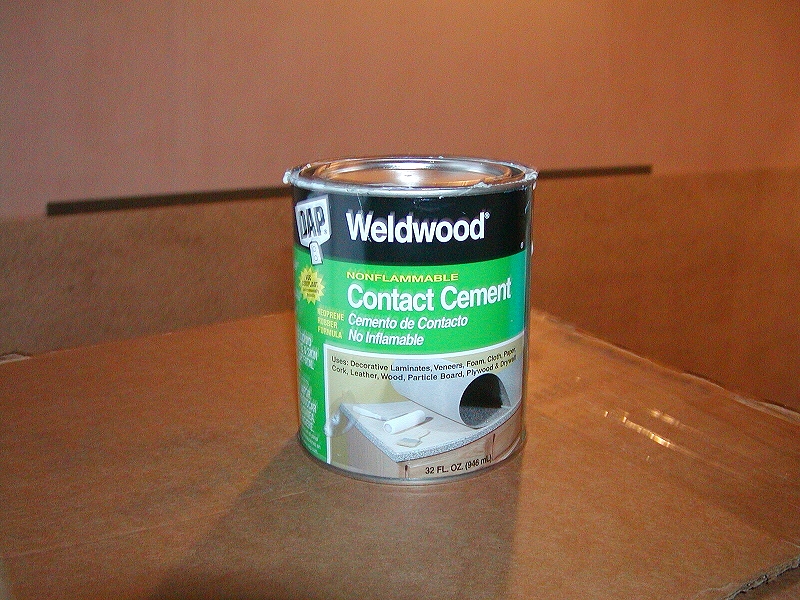
I went with DAP Weldwood Contact Cement. I've never done laminante before, so I
have nothing to compare it to, but it seems to work very well for me - 'goes on
smoothly (I've been using a disposable foam brush), dries in a half hour or so.
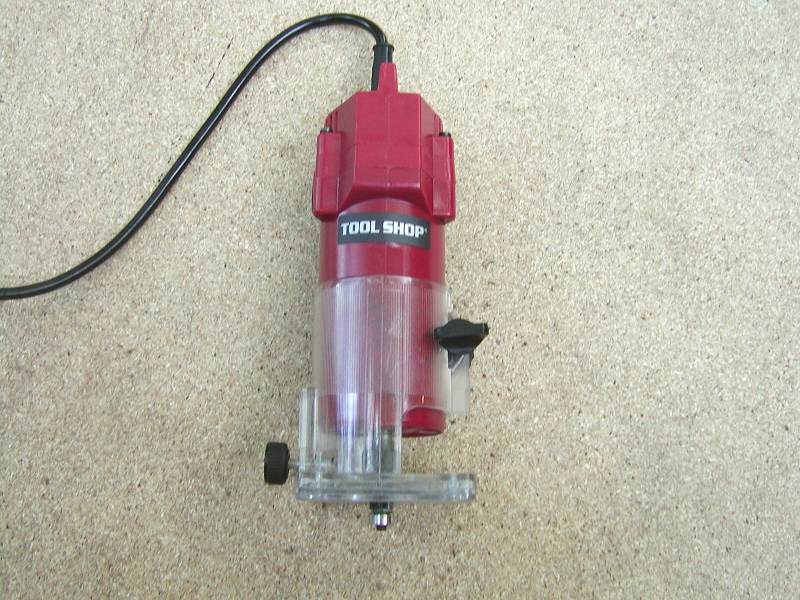
I purchased this Laminante Trimmer at Menards for $29.00. I do have a good
router, but I think this was money very well spent. The trimmer works great -
the clear plastic base and light-weight design make trimming the laminante very
simple. Plus, this way I can leave my router set in the same position for
cutting the T-molding grooves in the top of the cabinet when I'm ready for that
step.
It's like sitting around watching glue dry...
Bottom section all ready to go.
I probably won't install the T-molding until I'm a little farther along, so I don't tear it up during construction. I did install two temporary pieces of T-molding along the bottom of the cabinet at this point, so as to not tear up the bottom of the cabinet when moving it around.
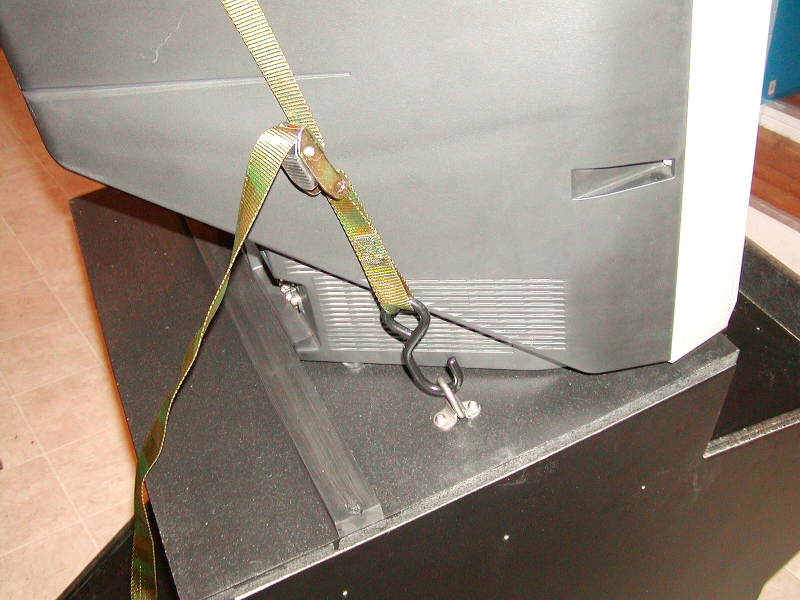


The Monitor that I'm using is a 27" Sanyo TV (geeze, that sucker's heavy...).
The monitor will be held in place by a 1"x2" board mounted to the base of the
cabinet, a tie-down
strap, and anchors. The anchors were purchased at Lowe's - they were truck
anchors that came with plastic bases (I didn't use the plastic bases) - they're
rated at 1,000lbs, so they should do the trick.
The first image above shows the tie-down strap at kind of an angle going toward
the back of the monitor. Before I finish the cabinet, I'll open up the back of
the monitor and cut holes in the case closer to the front - the strap will go
through these holes to hold the front of the monitor more securely.
Top-side pieces ready for sanding.
I've been wondering how I'd do this step since I first started looking at the
plans for this cabinet. I'm
building this cabinet totally by myself, so I wasn't sure how I'd be able to hold the
top-side pieces in place to drill and screw them together. It ended up being
very simple - I just cut a scrap to the exact length from the floor to the
bottom of the top-side piece, and clamped it in place. Then I clamped the top-side piece in place to screw it to the base.
Six screws doesn't seem like enough to hold these top-side pieces on properly,
so I'll probably add some construction adhesive when putting it together.
The curved black piece near the back of the cabinet is just an unused piece of
laminante that happens to be leaning there (it's not a part of the cabinet).

Benny's still pretty bored with the whole thing (if it doesn't have anything to
do with Frisbees, he looses interest pretty quickly...).
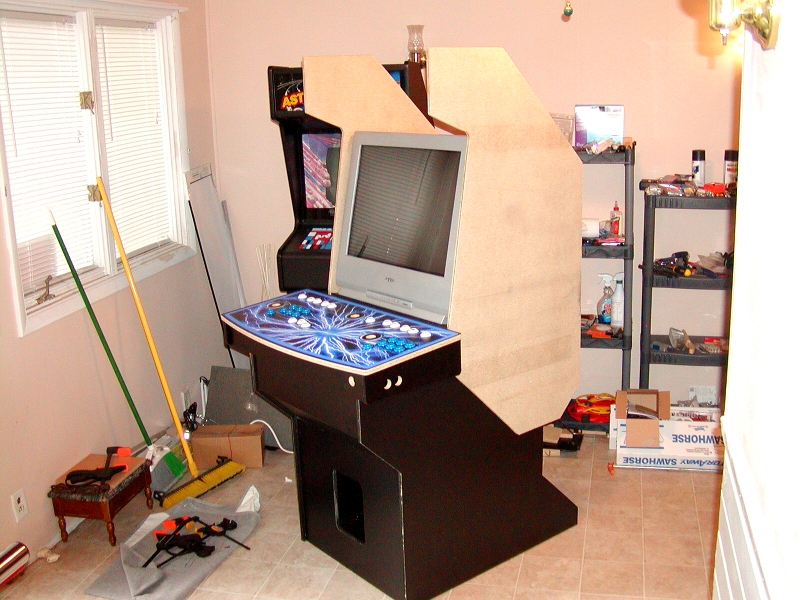
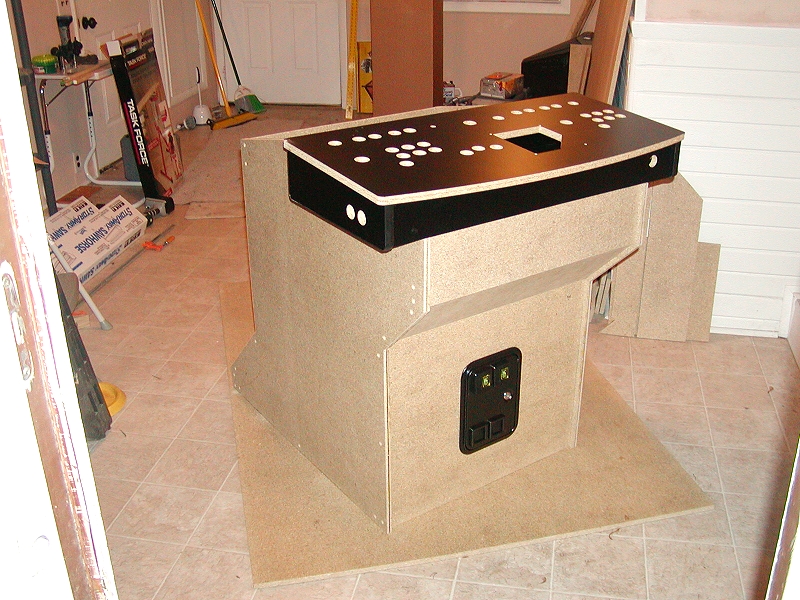
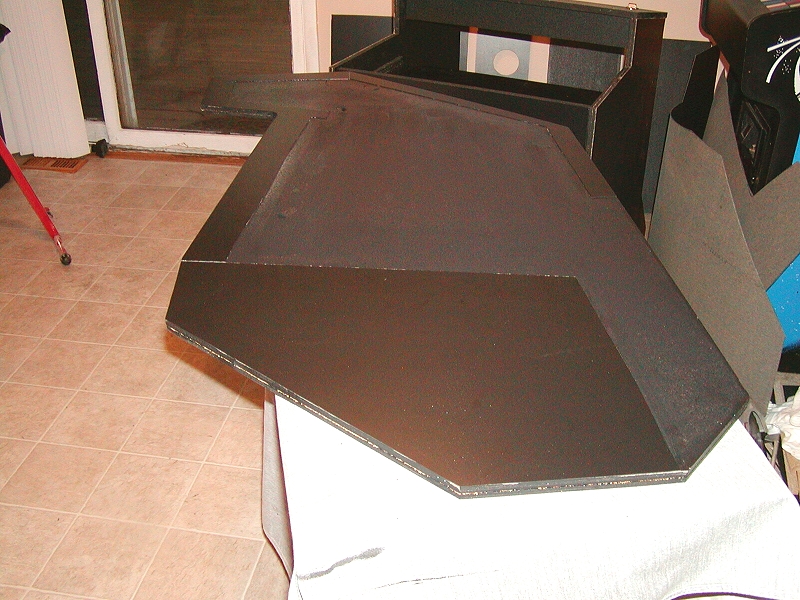
It's starting to actually look like an arcade machine now!
I've added
Control
Panel artwork from MameRoom. I put some of the buttons in place, to see how
they look (I also have the joysticks and pinball buttons; none are actually
mounted onto the Control Panel yet). A
SlickStick
Tornado Spinner and
Blue Translucent Trackball are on order from
Suzo-Happ. I also have a piece of Plexiglas that I'm going to try on the
Control Panel to see how I like it.
UPDATE
06/08/2010
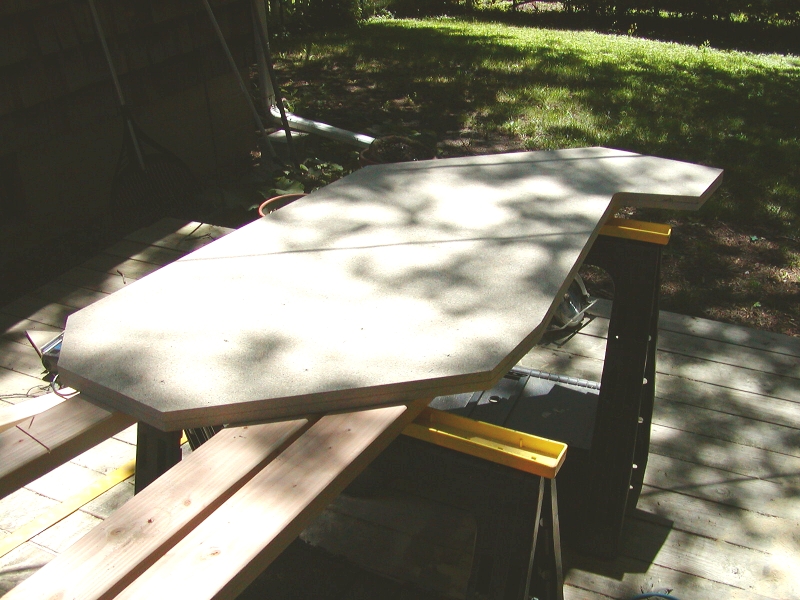
Today I cut the rest of the pieces for the top section. As with the bottom section, I test-assembled everything before painting, laminating, etc.
I didn't mention this earlier - I don't think that I could have properly cut all the parts for this project without a good table saw. I consider myself pretty handy with a handheld circular saw, but I quickly found that I could not be nearly as precise as I needed to be for this project.
![]()
![]()
The plans call for a ½" setback for most of the panels. A few ½" square
dowels work great for getting this setback quickly, without all the tedious
measuring. I also picked up a few ⅝" square dowels (to mark the
thickness of the panels).
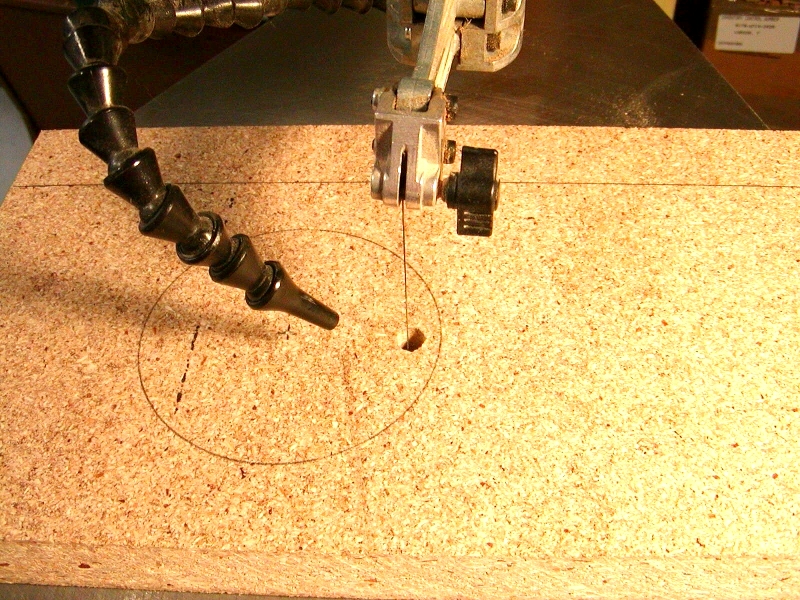
I still need to cut the holes for the speakers. I'll do these cuts on my scroll
saw.
I'm going to use 2 - 4" 8Ω speakers.

Close-up of the frame for the bezel and Plexiglas.
'Still have a little sanding to do on that curve on the outside-top piece.
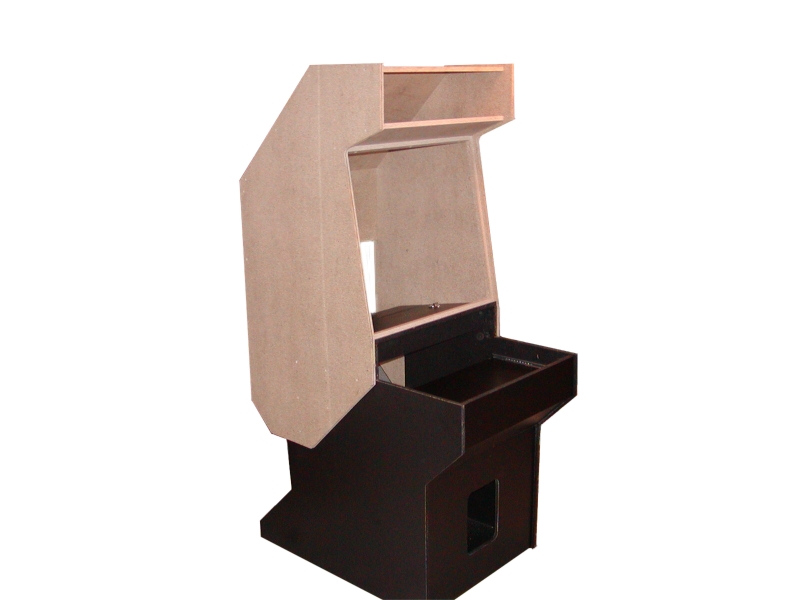
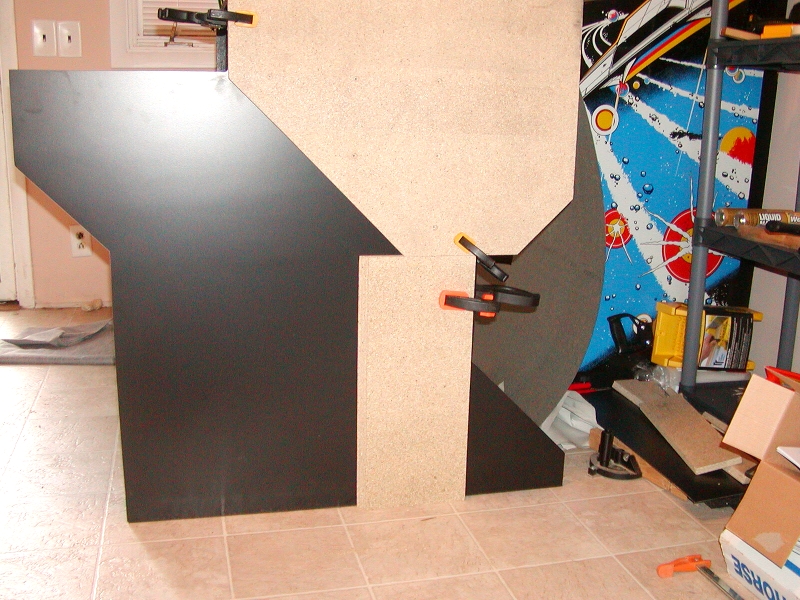
All wood pieces assembled for a test-fit
(My work area looked like a total disaster in this pic, so I blanked it out...)
UPDATE
06/15/2010
After someone brought it up at the "Build Your Own Arcade" Forum, I decided to laminate the inside of the upper section of the cabinet (only the parts that will be visible when the cabinet's fully assembled). As you'll see below, it would have been much simpler to laminate the entire inside of the upper section, but I didn't want to have to purchase another piece of laminante. I am glad that I did this - it will look much better than seeing the black painted particle board there.
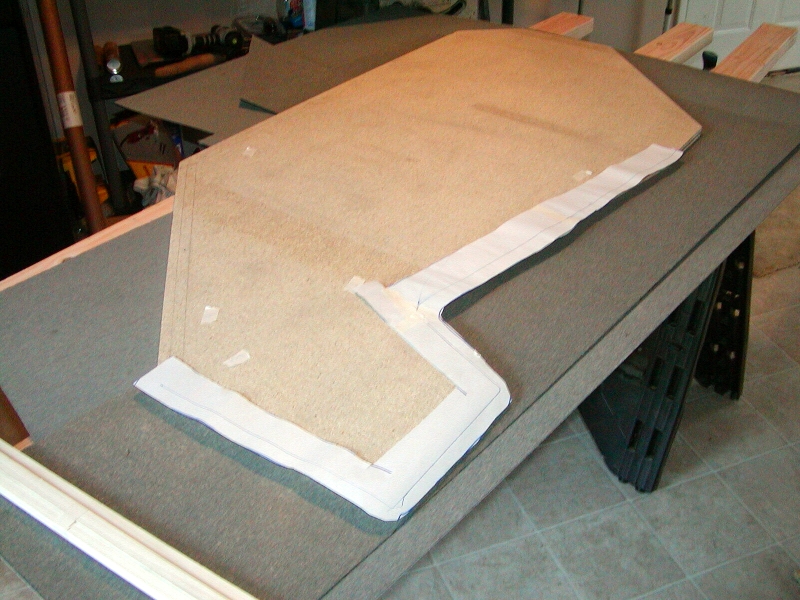
I cut out a paper template to draw the rough shape that I needed for the
laminante.
The inside top section painted and laminated.
I had to add laminante everywhere that a panel would be attached, so that my
inside dimensions all stayed consistent. You'll see a few seams in the
lamination in this image, but none of them will show when looking at the front
of the cabinet.
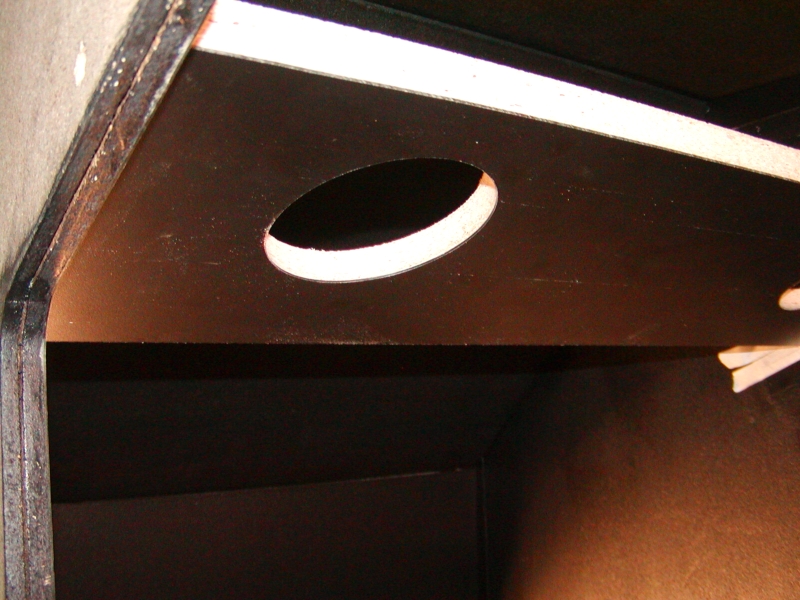
Speaker mounting plate.

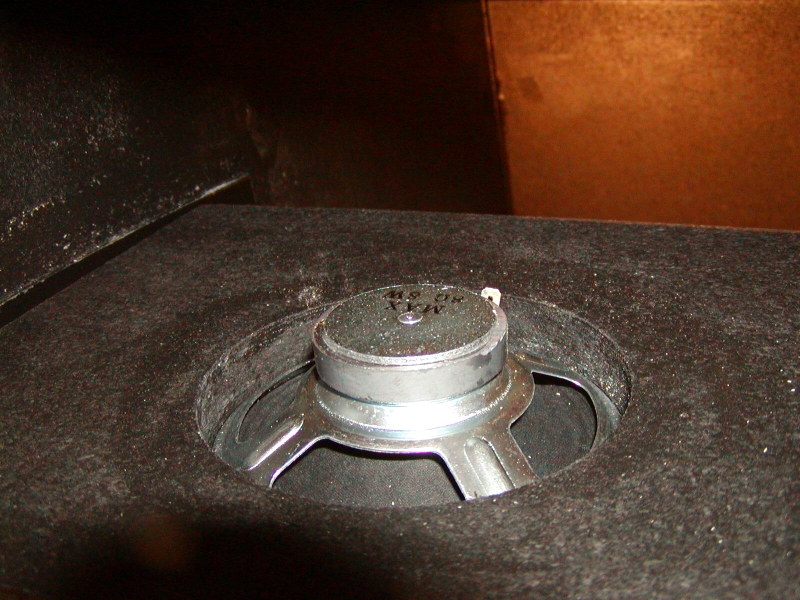
4", 8Ω, 8watt speakers.
You might have noticed that the mounting plate looks like it's upside-down. The
"proper" way to mount these speakers is with the mounting plate turned over, the
speakers on the other side of the mounting board, and bolts and nuts (instead of
screws). When I received these, they didn't include enough nuts and bolts; I'll
probably pick some up on my next trip to the hardware store. If not, this way
works fine - with the covers on, you can't tell the difference...
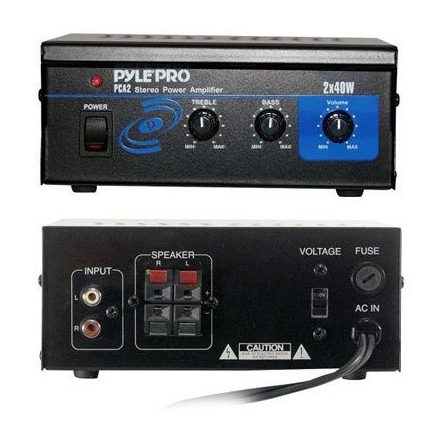
For an amp, I've decided to try this "Pyle Home PCA2 Mini 2 x 40-Watt Stereo
Power Amplifier". I realize that it probably has enough power
to blow my poor little 4" speakers to kingdom come, but the volume knob won't be
easily accessible.
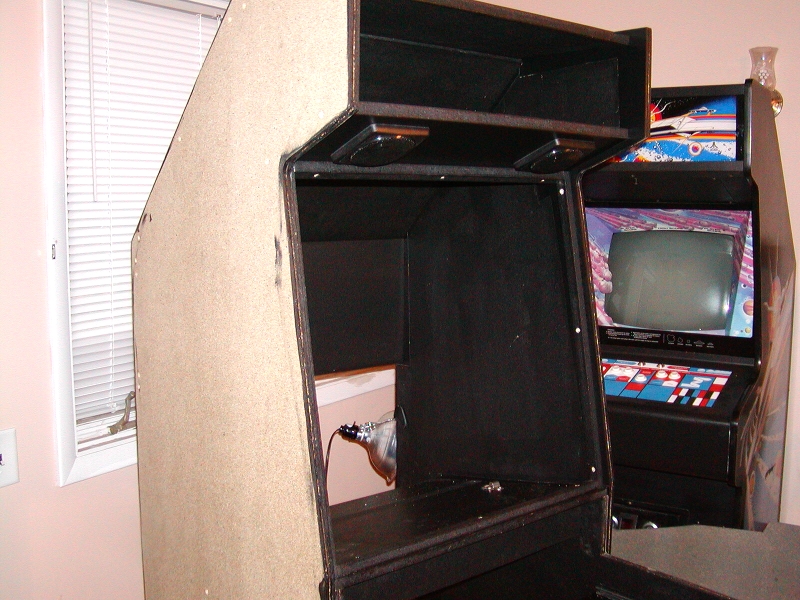
Here's a pic with the speakers mounted and the Bezel/Plexiglas frame in place.
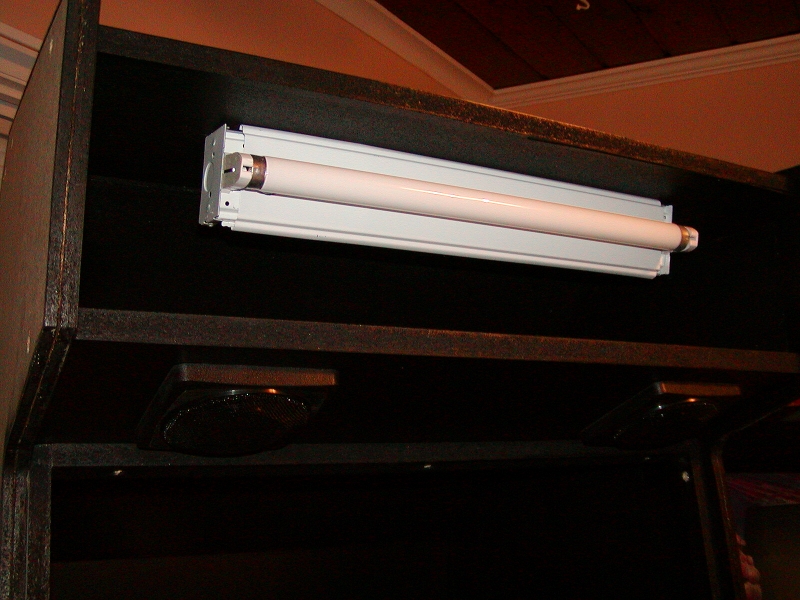
18" florescent marquee light installed (not wired up yet).
UPDATE
07/06/2010
I finally had a chance to get a lot more
work done on this project.
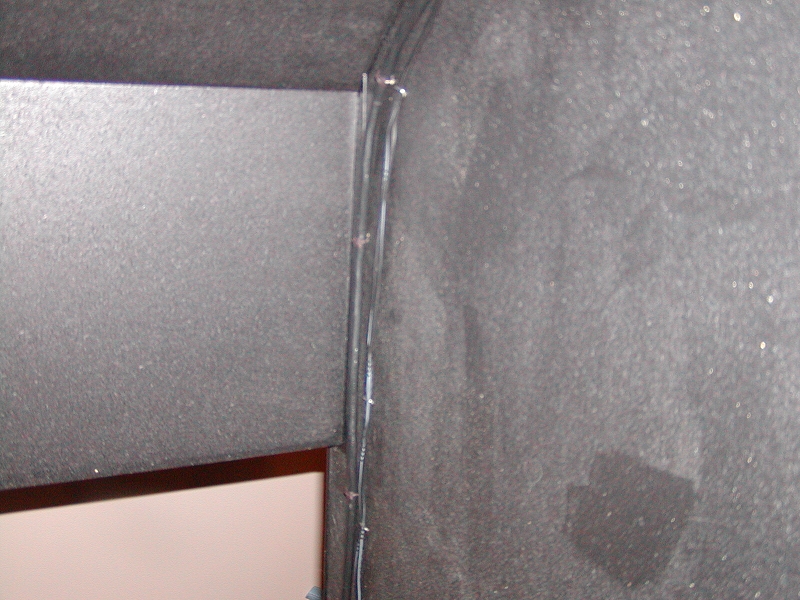
Here's the wiring coming from up top (for the Marquee light and the Speakers).
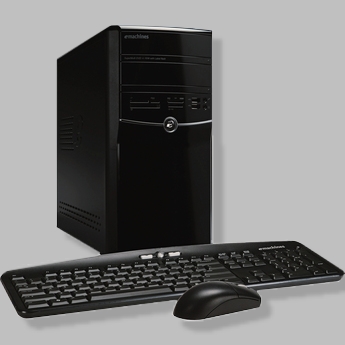
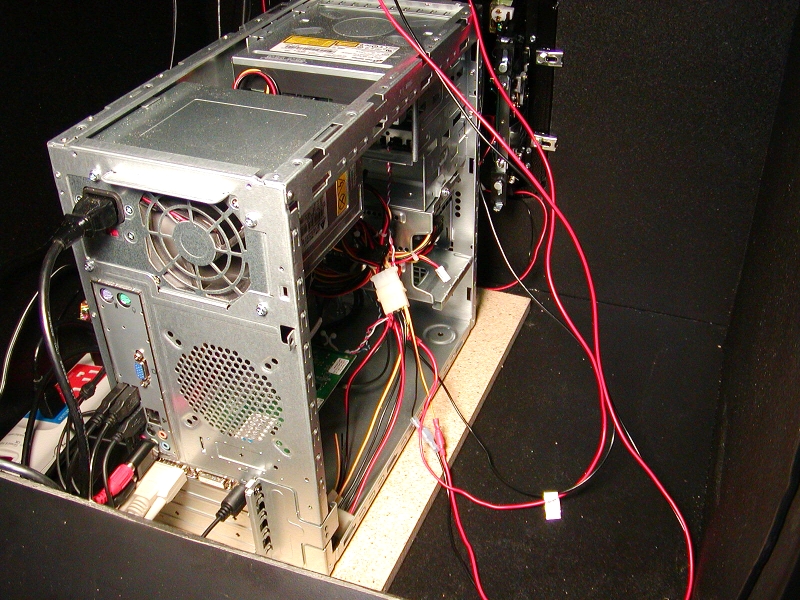
The computer that I'm using is an eMachines ET1831. It has a Pentium® Dual-core
CPU (E5300 @ 2.6GHz), 4.00GB of RAM, 64-bit OS, 700GB hard-drive.
Yes, it's more than I'll probably need for this cabinet, but I'm planning on
using the cabinet as more of a full entertainment center (games, internet,
music, TV, karaoke).
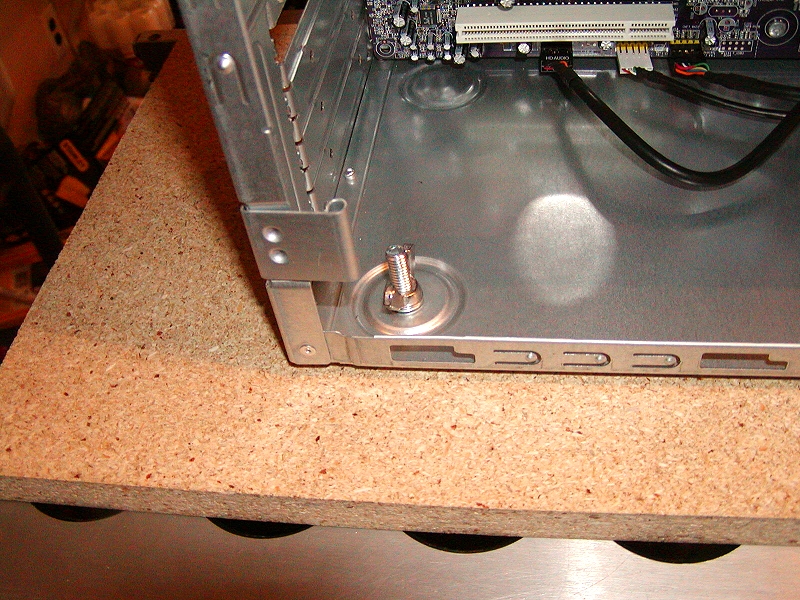
To secure the computer inside the cabinet, I added bolts through a leftover
piece of particle board, then through two of the computer's rubber feet. I
countersunk the bolt, so the panel would lay flat in the cabinet. The setup is
very stable this way, but I'll add a few screws to hold it down, once everything
is complete.
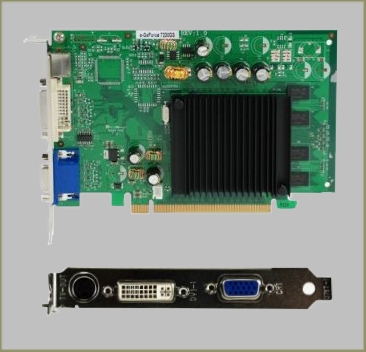
For a Video Card, I went with a
EVGA nVidia GeForce. I'll be using the S-video Output to go to the Monitor.
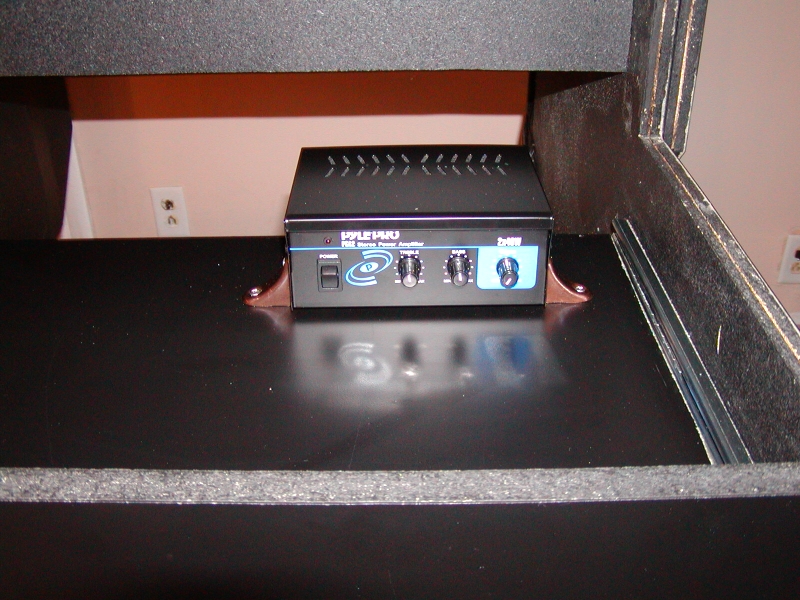
The amp that I went with (see details farther up this page) ended up working
very well; it sounds great.
I installed it in the keyboard drawer; this way it's out of sight, but is still
easily accessible for adjustments. I used two brackets that are made for
securing drawer corners to secure it.
I'll probably end up installing two more speakers on the front of the cabinet
(down near the coin door), for listening across the room (when watching TV or
listening to music).
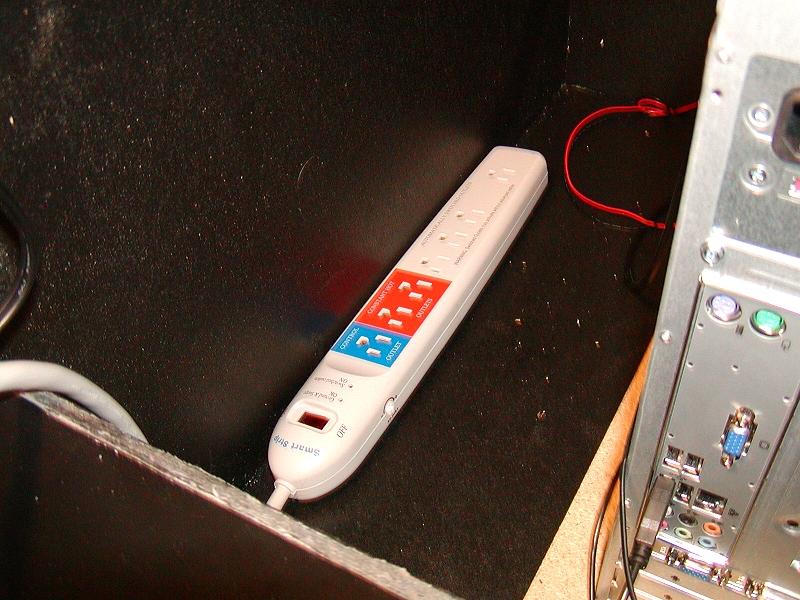
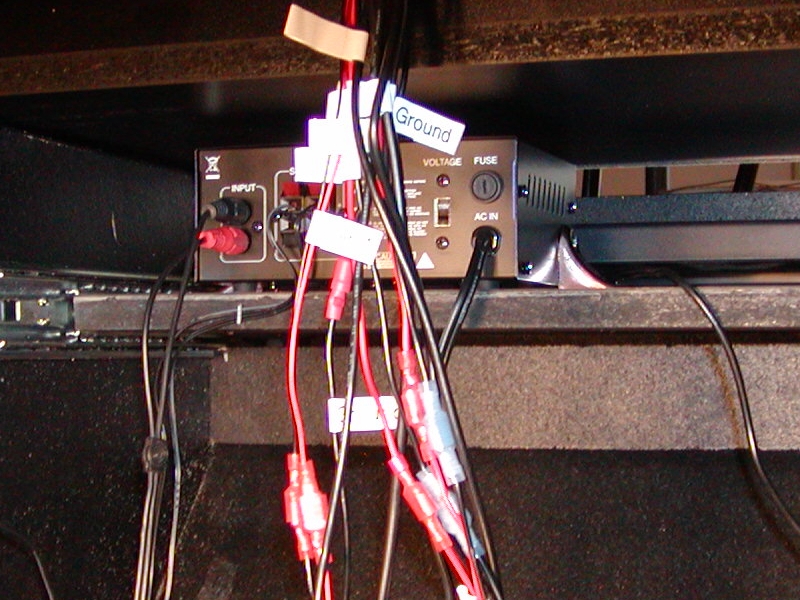
I'm using a
Smart Strip for power. In addition to providing surge protection, this strip
allows you use one plugged-in device as a Master Controller (when it turns on,
other items that are plugged in to the strip also turn on). I have the computer
plugged-in as the Master; the marquee light, amp and Monitor are plugged-in as
slaves). The Monitor doesn't turn on when everything else does, but this isn't a
big deal - the remote control will work through the bezel to easily turn it on.
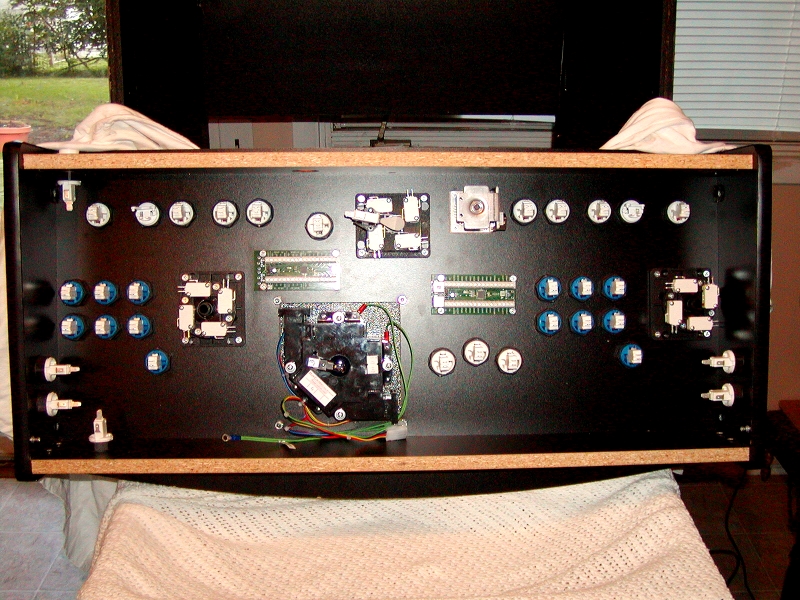

Here's the Control Panel with everything installed, but not wired up yet, and a
pic of the top of the Control Panel.
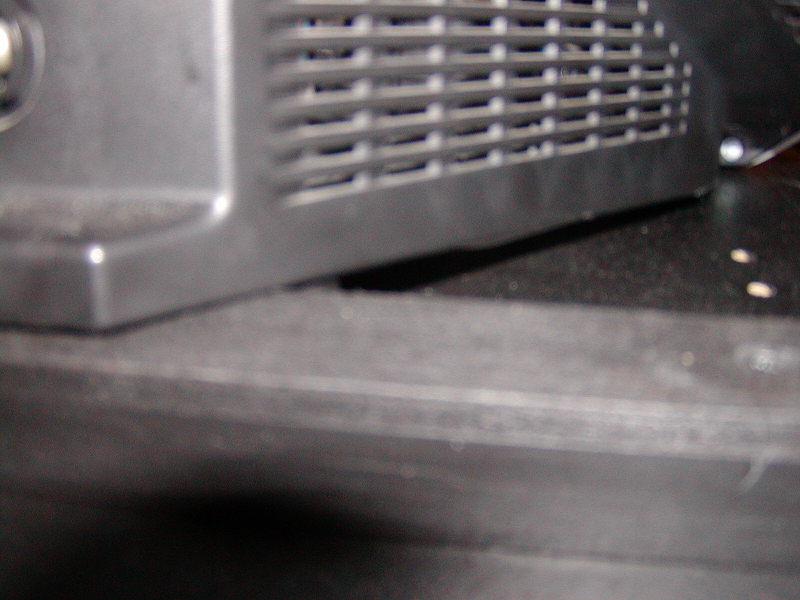
I decided that I didn't need to strap the TV down after all. The board that I
installed on the TV's shelf holds it perfectly (the TV's feet catch on the
board). 'Sorry, this image is a little blurry...
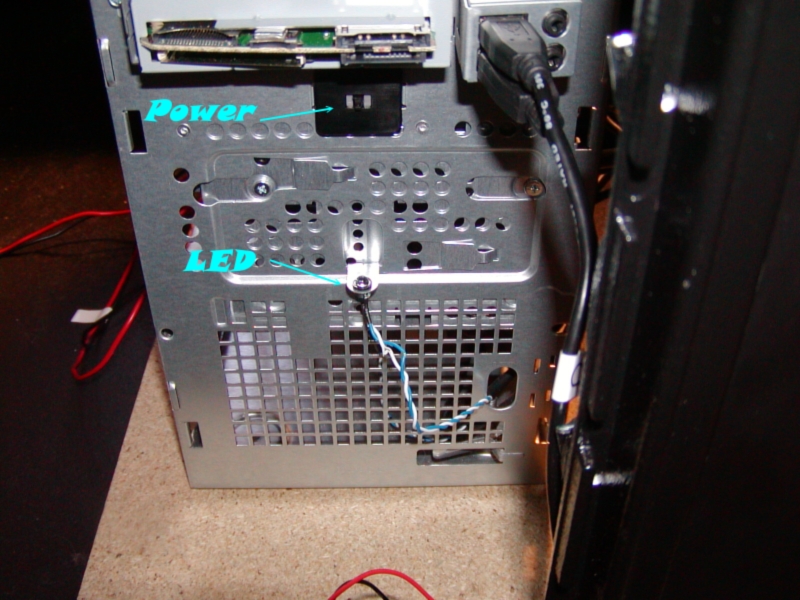
This computer uses a momentary switch to power on, so it was a simple matter to
"Y" off of the wires and make an easy-access power switch. I mounted the power
switch on the back of the Control Panel.
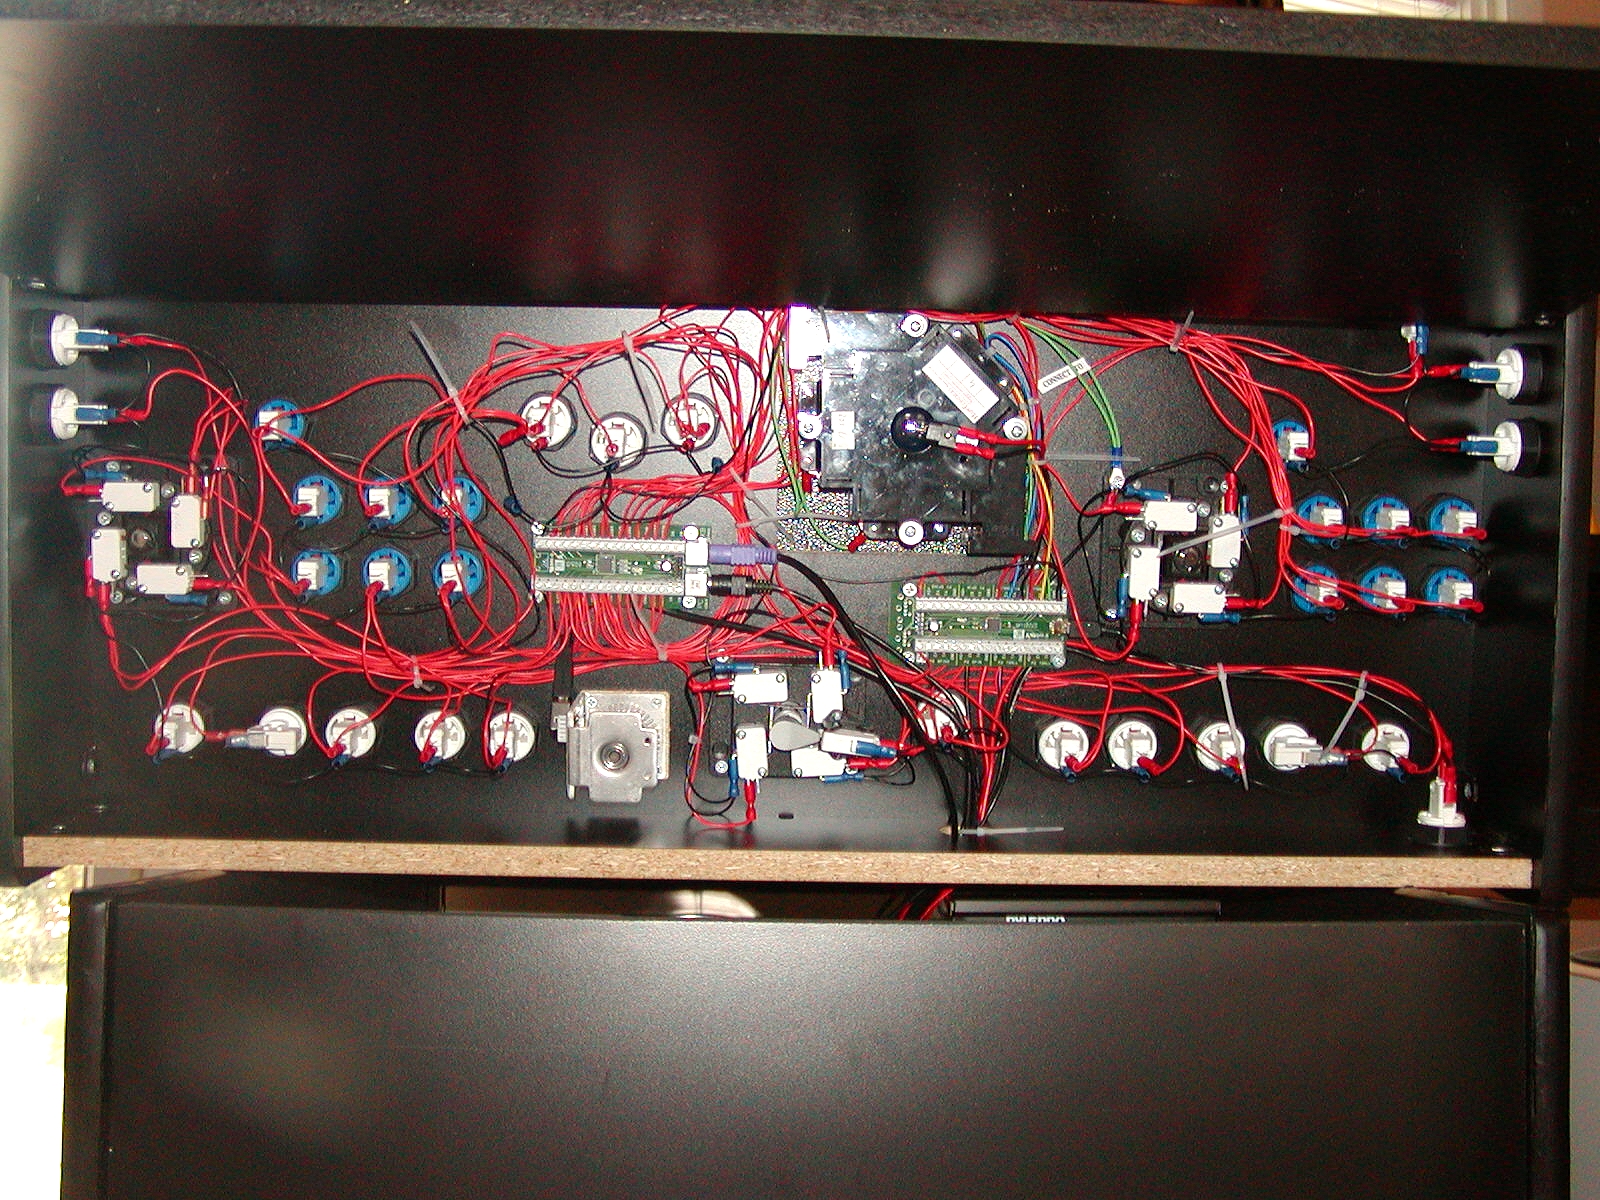
Image of the Control Panel all wired up.
It will look MUCH neater when I'm done - I've left everything for easy-access
right now, in case I need to change anything...


I was going to use a
non-functioning coin door, but I decided to go ahead and purchase a
functioning one.
For now, both coin slots are wired to "Coin One".
The plans called for centering this door on the panel (which I did). If I were
doing it over, I would raise the coin door up higher on the panel. Not only
would this look better, it would give me better access to the CD tray on the
computer.
I added quick-disconnects to the wires coming down from the Control Panel. Yes,
they look like a mess now, but they will be arranged neatly to one side, once
I'm done with all the wiring/testing.
This image shows a connector added for 12v to the Trackball lamp. This isn't
bright enough (it should be 14v), so what I'm probably going to do is use LEDs
for the Trackball lamp, as well as the lamps in the coin returns.
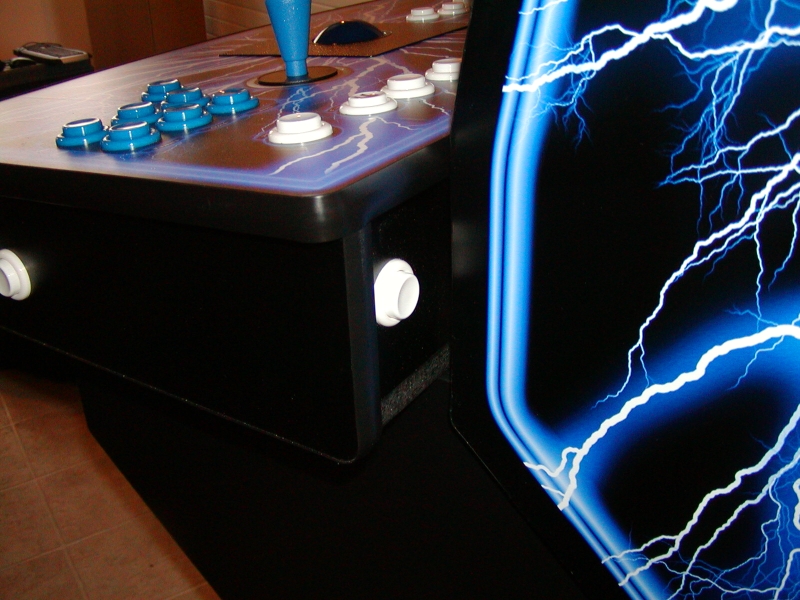
The outside of the cabinet is pretty much done
now!
The artwork is from GameOnGrafix.com.
The Tinted Plexiglas was purchased locally at Lowes.